CarboXtrem TT Aerobars
€890,00
CARBOXTREM
Pre-launches, custom-fit tips and offers for your bike. No spam: only what is worth it.
Already have an account? Sign in06/09/2026 · Alfonso Lopez Pe

Almost everyone prepares their first multi-day trip thinking about total weight: how much the tent weighs, whether the sleeping bag fits on the handlebar, how many grams the small stove saves. It's a useful conversation, but it falls short, because weight is only half the story. The other half —the one that decides how the bike behaves on the first descent— is where you put that weight.
An unloaded bicycle is something you know by heart: you know how long it takes to turn into a corner, where you need to brake on the descent near home and how it reacts if a side gust catches you. The moment you hang bags on it, those three responses all change at once. Not because the bike is worse, but because you have moved its centre of gravity and multiplied its inertia. It's still your bike, but it answers with different timing.
This article is about exactly that: what changes, why it changes, and how to distribute the load so it changes as little as possible.

To understand distribution, it helps to stop thinking about "front and back" and start thinking about height. A loaded bike has three levels, and each one has a different effect on handling.
It's the best place there is for weight, by a mile. Everything in the frame bag, in the bottles or strapped to the tubes stays close to the ground and close to the midpoint between the two wheels. That weight barely changes how the bike steers: it just makes it heavier, which is exactly what you want. This is where water, tools, the power bank, spares and dense food go.
The saddle bag is convenient and aerodynamically discreet, but it hangs cantilevered behind the rear axle and quite high up. Overloaded, it starts to swing sideways when you stand up to climb out of the saddle, the swaying known as tail wag, which in practice feels like someone pushing your hips from side to side. The rule is simple: volume yes, density no. Clothes, sleeping bag, sleeping mat. No cans or heavy tools.
It's the most problematic place and, at the same time, the most practical: it's where the sleeping bag fits without argument. The problem is geometric. That bag sits in front of the steering axis and above the wheel, so its weight doesn't go along with the steering: it pulls on it. Everything you put in there becomes a lever arm acting on the steering.
The most unsettling effect of a loaded bike appears at low speed. At cruising pace, with the wheel spinning fast, the gyroscopic effect stabilises the steering and you hardly notice the weight up front. But when you drop to four or five kilometres an hour zigzagging up a steep ramp, that stabilising effect almost completely disappears and only geometry is left: the wheel tends to fall towards the side it's already turned to, and now it does so with several kilos pushing from above.
The sensation is very specific and anyone who has loaded a bike recognises it: the handlebar "wanders off on its own" on slow ramps, and you have to correct harder and sooner than usual. It isn't a fault in the bike or the bag. It's the price of putting weight high up in front of the steering axis, and you pay it mostly when you're going slowly.
The practical consequence is twofold. First: on very steep climbs, keep some speed and a straighter line instead of zigzagging up the ramp. Second, and more important: if you have to choose what to sacrifice from the top level, take out the dense stuff. Two kilos of food in the handlebar bag are far more of a nuisance than two kilos in the frame bag.
Here the physics is straightforward: at the same speed, more mass means more energy to dissipate and therefore a longer stopping distance. You don't need any figures to draw the useful conclusion, because the real problem isn't the distance itself, but your references.
You've spent years braking at the same spot on the same descent. You don't calculate that braking point: you remember it. And a loaded bike wipes out that memory on the first day of the trip, not the third, precisely when you're also tired, on unfamiliar roads and on whatever surface you come across. That's why bikepacking scares almost never happen on the last day.
There's a second, less obvious effect on long mountain descents: with more mass the brake works for longer and builds up more heat, so it's best to alternate short, firm braking efforts instead of dragging the lever all the way down. And a third, this one in your favour: with weight up high, the rear wheel loses grip more easily under hard braking, so the front brake ends up doing even more of the work than it already did.
A large handlebar bag is, in practical terms, a small sail placed in the worst possible spot: high, forward and mounted on the part of the bike that steers. In a crosswind the difference compared with riding unloaded isn't that the whole bike gets pushed more, but that the handlebar gets pushed, and you feel that as constant correction through your hands.
The remedy isn't mysterious: firm but not clenched hands, bent elbows so your arms absorb rather than transmit, and a lower-profile front load if the route is going to be exposed. A sleeping bag rolled tight and narrow acts as much less of a sail than a fat, loose one.
This is the table we use as a reference. It isn't dogma —every bike and every route calls for adjustments—, but if you stick to it, the bike behaves reasonably similarly to how it did empty.
| Zone | What to put there | Effect on handling |
|---|---|---|
| Frame bag and bottle cages | Water, tools, spares, battery, dense food | The best place: lowers the centre of gravity and barely affects steering |
| Handlebar bag | Sleeping bag, sleeping mat, warm clothes (light volume) | Slows the steering and acts as a sail; avoid putting anything heavy here |
| Saddle bag | Clothes, textiles, anything that isn't dense | Swings sideways when pedalling out of the saddle if overloaded |
| Stem and top tube bags | Snacks, phone, documents, frequently used items | Little impact; mainly useful so you don't have to stop and rummage |
| Backpack | Ideally nothing, or almost nothing | The worst place of all: the weight is on you, it raises the combined centre of gravity and punishes your hands and perineum |
The part almost nobody does and that prevents the most accidents. Before heading into the real route, use the first loaded kilometres to give your body the new information:
It's the same principle we apply to any equipment change: nothing gets used for the first time on the day that matters. We go into more detail in our article on how to travel with your bike without losing your position, where the enemy is the same —arriving at your destination with a bike that is no longer the one you left at home—, even though the cause is different.
Everything above is for the first day. From the second day on, another problem appears that isn't fixed by moving bags: you've spent many hours in a row resting on the same three contact points, and now with more weight on them.
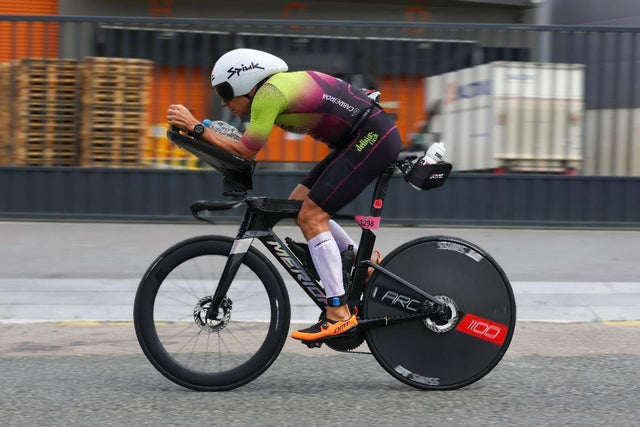
That's why so many long-distance riders end up fitting aerobars to a bikepacking bike, even if they don't care in the slightest about aerodynamics. Extensions on the handlebar aren't just a fast position: they're one more posture, a different place to put the weight of your torso when your hands and shoulders have spent six hours on the same corner of the handlebar. If your bike has a flat handlebar, we explained how to solve this in aerobars for flat handlebars.
The other contact point that gets the worst of it is the saddle, because the extra load doesn't travel alone: it travels with the vibrations from the trail. We cover that separately in saddles for gravel and long routes.
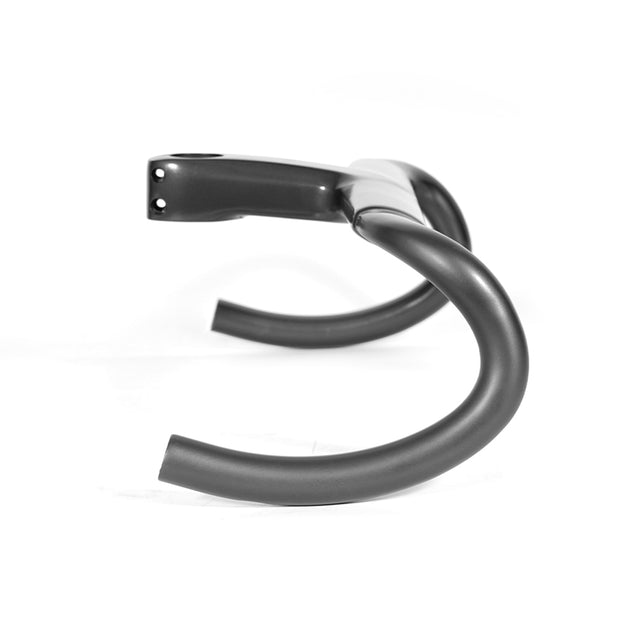
The CarboXtrem Custom Aero Aerobars are made to fit your arm length and your biomechanical specifications, instead of coming in fixed sizes. The structure is carbon fibre with stainless steel hardware, with tilt adjustable from 0 to 35° and height adjustment above the handlebar, and they come ready to mount SRAM Blips or Shimano brackets.
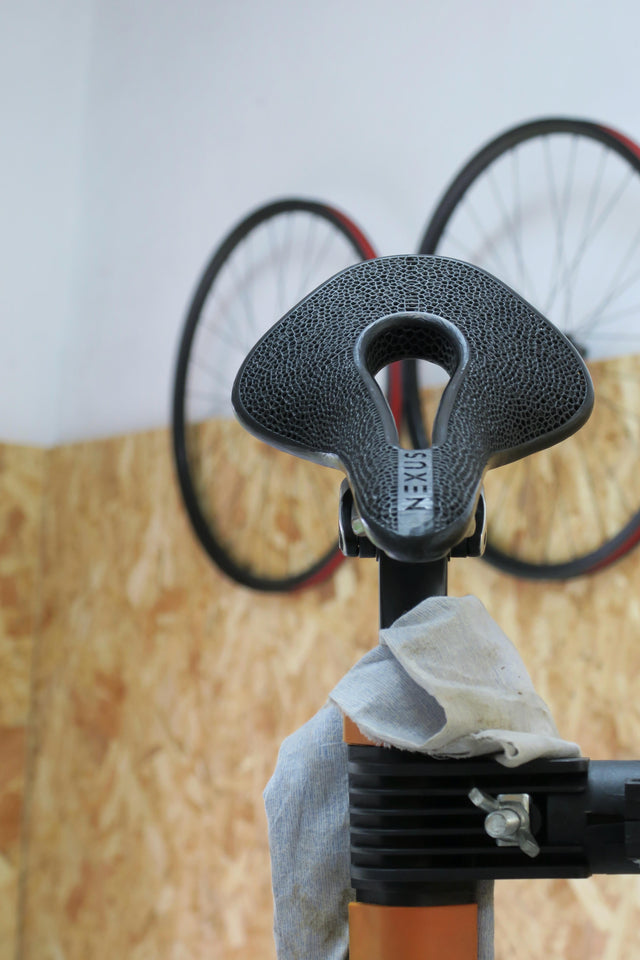
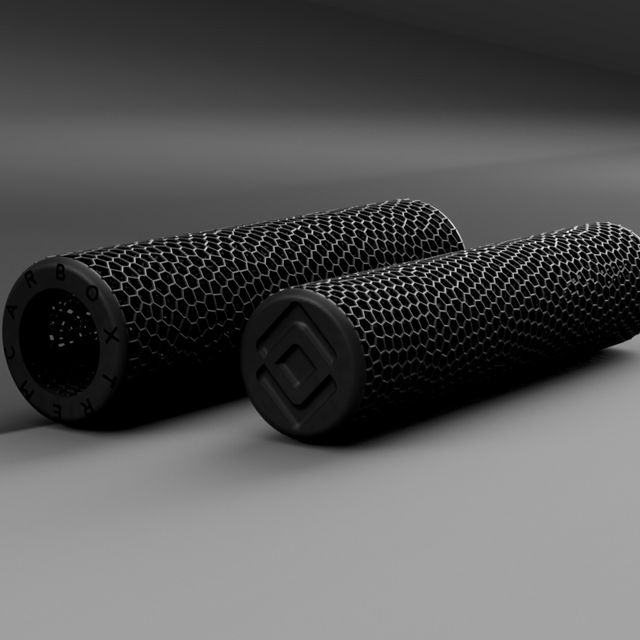
The part you notice most on a long trip, however, isn't the structure: it's the pads and grips, made in EPU 41, the elastomeric resin from Carbon used to print our 3D lattices, whose ability to absorb vibration is exactly what you want when the hours pile up. They're backed by a lifetime warranty.
Dense, heavy items —water, tools, food, battery— go as low and centred as possible: frame bag and bottle cages. Up top and at the front, in the handlebar bag, only bulky, light gear: sleeping bag, mat, clothes. The lower and closer to the centre the weight is, the less the handling changes.
Because at low speed the stabilising effect of the spinning wheels practically disappears and the high, forward weight of the handlebar bag acts as a lever on the steering axis. You correct it by keeping some speed, riding a straighter line on steep ramps and not putting dense weight up there.
It depends on the weight, the surface and the brakes, so there's no figure that applies to everyone. What matters is that your memorised braking points stop working from the first kilometre: brake earlier than habit tells you and calibrate the real distance with a couple of deliberate stops before the first serious descent.
Bags, whenever possible. Weight on your back raises the combined centre of gravity, loads your shoulders and hands and increases pressure on the saddle. Save the backpack for hydration or the bare essentials.
Yes, and not just for aerodynamics. Over several days in a row the enemy is repetition: the same hands in the same spot for hours. Aerobars add an alternative position to rest your torso and take load off your hands and shoulders, which over long distances usually matters more than watts.
Distribute the load low and centred, leave only bulky, light items up top, and use the first kilometres to recalibrate braking and steering. That sorts out the first day. For what comes after —hours on end on the same contact points— we make custom components, with 3D lattices printed by Carbon in EPU and density calculated for each rider.
Discover the CarboXtrem Custom Aero Aerobars and set up a resting position designed for your measurements, not for a standard size.
Topics