CarboXtrem TT Aerobars
€890,00
CARBOXTREM
Pre-launches, custom-fit tips and offers for your bike. No spam: only what is worth it.
Already have an account? Sign in12/08/2026 · Alfonso Lopez Pe

August is the month when the most bikes travel. In a car boot, on a roof rack, on a train or in an aircraft hold inside a hard case. And although everyone's worry is the same —don't let them break it—, what gets damaged most often isn't the frame: it's your position.
Reassembling the bike at your destination seems trivial. Slot in the seatpost, straighten the handlebar, tighten up. Until you head out for a ride and something doesn't feel right: your knee works differently, your neck gets loaded after an hour, your elbows rest a little wider than usual. It isn't your imagination — a few millimetres have moved. And those millimetres, if you've had a bike fit or ride made-to-measure components, are worth far more than the bolt holding them.
This guide is about exactly that: how to dismantle, pack and reassemble your bike without losing your position along the way, and how to protect carbon parts so the trip doesn't take its toll on them.
This is the step almost everyone skips, and it's the only one you can't recover afterwards. With the bike still assembled and set up the way you ride it, give it five minutes.
Your phone is the best free bike-fit tool there is. Take a set of photos before loosening anything:
Save them in an album on your phone named after the trip. It sounds excessive until the first time you need them in a hotel room with the bike half assembled.
Photos solve the "more or less". Numbers solve the rest. These are the measurements worth keeping in a note on your phone — not just for travelling, but also for the day you change bikes or something happens to yours:
| Measurement | How to take it | Why it matters when reassembling |
|---|---|---|
| Saddle height | From the centre of the bottom bracket axle to the top of the saddle, along the tube | It's the dimension that most affects knees and hips; a few millimetres are noticeable |
| Saddle setback | Horizontal distance from the saddle nose to the vertical line through the bottom bracket | It gets knocked out when you loosen the rails to pack |
| Saddle tilt | With a spirit level (or a phone app) on the saddle | One degree of nose-down tilt changes your support completely |
| Handlebar height | From the ground to the centre of the handlebar, or by counting spacers under the stem | If the headset is taken apart, the spacers easily go back in the wrong order |
| Pad spacing and angle | Distance between the centres of the pads and their tilt | In an aero cockpit it's the difference between holding the position and suffering it |
| Visible seatpost length | Mark it with tape or measure from the clamp to the base of the saddle | Lets you recover the height without measuring everything again |
A workshop trick that never fails: a strip of masking tape on the seatpost, flush with the frame, and another on the aerobar extension marking where it sits on the handlebar. It takes ten seconds and saves you half an hour at your destination. If you want to go deeper into the most important dimension of all, it's covered in our guide to saddle height and how to adjust it.
Carbon has a virtue that's sometimes misunderstood: it withstands enormous loads in the direction it's laid up for. A handlebar takes the weight of a rider braking on a descent without breaking a sweat. What it doesn't handle as well is a concentrated, perpendicular load: a sharp edge-on knock against the rim of a suitcase, the weight of another part resting on one point for hours in a van, or a clamp overtightened when reassembling in a hurry.

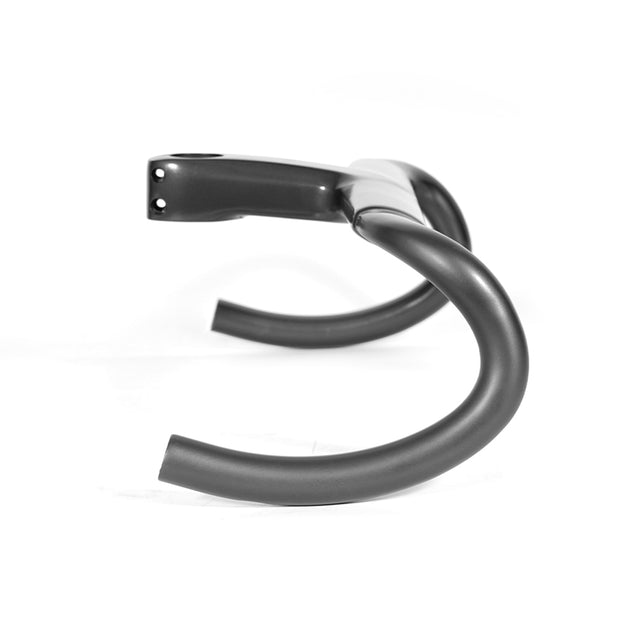
This is how an aerobar cockpit leaves our workshop: each part wrapped separately, with no metal-to-carbon contact and nothing resting on an edge. It's exactly the approach worth copying when you're the one putting it in a bag.
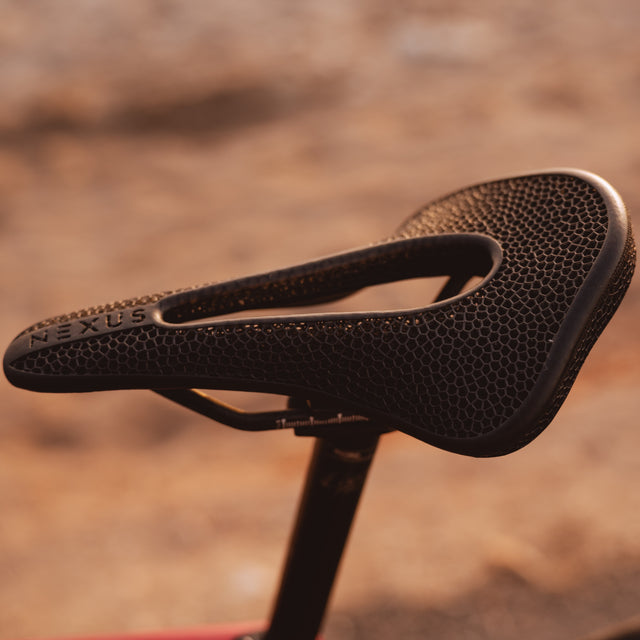
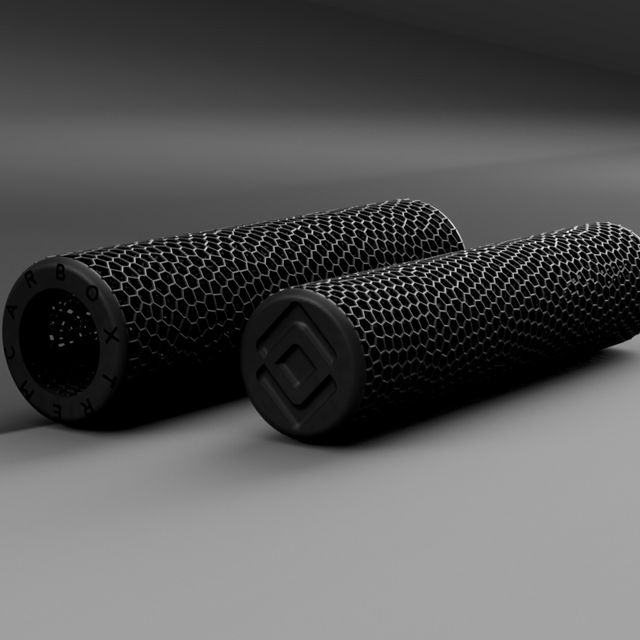
It's a reasonable question when you spend a week with the bike squashed into a bag: will the pads take on the shape of the luggage? With traditional foam, sustained pressure does leave a mark. With a 3D lattice printed in EPU using Carbon DLS technology, it doesn't: the part isn't a solid block but a structure of thousands of hollow cells that give and spring back into place. It's one of the few things on the trip you don't need to worry about — we explain the difference from foam in depth in foam vs 3D lattice.
Even so, a practical tip: if you're going to compress the bag as far as it goes, place the pads and grips where a strap won't put a permanent crease in them. Not because of the lattice, but because of the other parts underneath.
The less you touch, the less you have to recover later. This is the order of preference we follow:
A standard component goes back "the way it was" fairly easily. One made to measure for you holds information that isn't written down anywhere except on the bike itself — which is why it's worth documenting before you take it apart.
With custom CarboXtrem Aero aerobars, for example, there are three different layers of adjustment, and only one of them is on the product page:
| Element | Verified detail from the product page | Is it lost when dismantling? |
|---|---|---|
| Extension length | Adapted to the user's specific arm length | No: it's the geometry of the part, it travels with you |
| Wrist angle | Wrists positioned at 50º | No: it's set by the design of the extension |
| Pad tilt | Adjustable from 0 to 35° | Yes: note it down or mark it before loosening |
| Height above the handlebar | Precise adjustment using risers | Yes: count the spacers and keep them in order |
| Rotation towards the centre of the handlebar | The aerobars can be rotated to gain aerodynamic penetration | Yes: it's the one that gets knocked out most and that you notice most |
| Pads and grips | EPU 41, a Carbon resin recognised for its vibration absorption | No, but they deserve to be wrapped separately |
In other words: the expensive part —the one made by measuring your arm— isn't lost on a trip. What gets lost are the three fine adjustments you made while riding. That's why the overhead photo and the tape are worth it.

The return journey is usually the most neglected: the bike gets home, sits in the garage and isn't touched until the weekend. It's worth spending a little time on it the same day:
It depends on how much you can carry and how the bike will travel. A hard case protects more against knocks and handling impacts; a soft bag weighs less, stores more easily at your destination and usually means protecting each part more carefully inside. In both cases, what makes the difference is the internal packing: nothing resting on an edge and no part rubbing against another. Always check your airline's conditions and size limits before buying a bag.
Only if the bag requires it. If they fit by turning the handlebar, it's better to leave them fitted: you keep the tilt, height and rotation exactly as you had them. If they have to come off, remove them as a block —without undoing the internal adjustment— and note down or mark their position on the handlebar before loosening.
No. A lattice printed in EPU isn't a solid block that gets permanently squashed: its cells give under load and recover their shape. It's one of the practical advantages of this structure over traditional foam, which does suffer from sustained pressure.
Visually check the support and clamp areas for deep scratches, dents or lifted paint, and run your hand along the tubes. A soft feel, a new creak or a dull sound when you tap gently with a fingernail deserve an inspection at a specialist workshop. If in doubt, don't ride: a crack in carbon can't be diagnosed by eye from the outside.
It's almost always the position, not you. Compare the bike with the photos you took before dismantling it and check height, setback and tilt. If everything matches and the discomfort always persists in the same spot, then it's no longer the setup: it's the support surface, and that's where 3D lattices with a density calculated for your weight and support area come in.
A well-packed bike arrives in one piece. A well-documented bike arrives in one piece and lets you ride as you do at home from day one. The difference between the two is five minutes of photos, two strips of tape and a note on your phone.
And if your cockpit is made to measure, all the more reason: with custom CarboXtrem Aero aerobars the extension is made to the length of your arm, with the wrists at 50º and 3D lattice pads in EPU 41 — and they come with a lifetime warranty. No trip can take that part away. The other part, the fine adjustments you found while riding, only you can keep.
Travelling with your bike this summer and unsure about dismantling your aerobars? Message us: we'll tell you what's worth removing and what's best left fitted, depending on your bag.
Topics