CarboXtrem TT Aerobars
€890,00
CARBOXTREM
Pre-launches, custom-fit tips and offers for your bike. No spam: only what is worth it.
Already have an account? Sign in05/08/2026 · Alfonso Lopez Pe

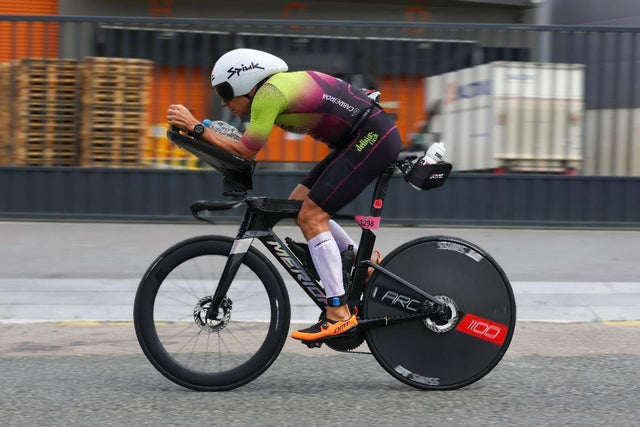
Time trial aerobars on the road bike you already own are almost always the most direct way to gain speed without changing bikes: they narrow your frontal area to the wind and give you a second riding position for going fast. If you're still deciding whether they're worth it compared with a dedicated time trial bike, we cover it in detail in TT bike or road bike with aerobars?. Here we go one step further: you already have them (or they're on their way) and it's time to fit and adjust them properly.
And that "properly" matters, because almost all bad experiences with aerobars don't come from the part but from the fitting: crooked extensions, overtightened clamps, rests in the wrong place or the classic of wanting to ride in a time trial position for three hours on day one. None of that is hard to avoid. Let's go step by step.
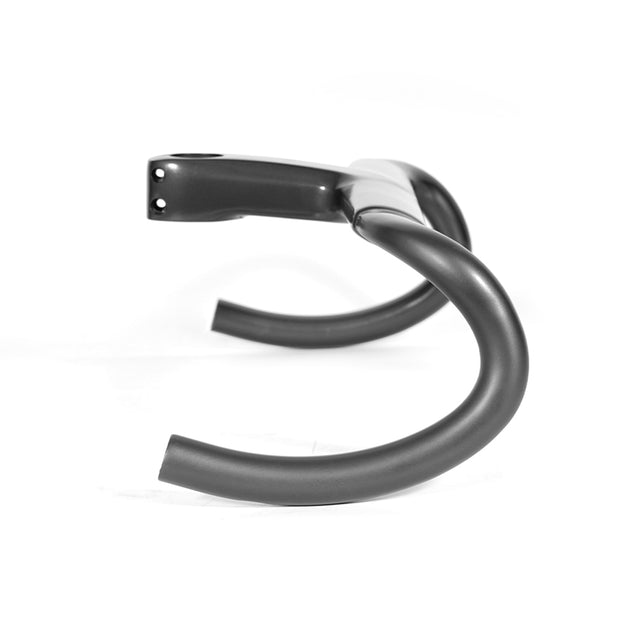
We'll use our CarboXtrem UCI Crono Aerobars as the reference, although the logic applies to any quality clip-on aerobar. On the UCI Crono, the extension —the part you rest on and grip— is carbon fibre, and the brackets that anchor it to the handlebar are 3D printed in PA12-CF, a carbon-fibre-reinforced nylon. That detail isn't cosmetic: because the bracket is made to fit your handlebar, the contact between part and tube is complete, with no improvised shims, and the assembly fits practically any road cockpit.

For fitting you need very little: Allen keys, a torque wrench (with carbon it isn't optional, we'll see why), and fifteen unhurried minutes.
The aerobars are mounted on the central section of the handlebar, one on each side of the stem. Three checks before tightening anything:
More handlebars get broken here than on any pothole. The rule is simple: respect the maximum torque specified by your handlebar manufacturer —it's the most delicate component of the assembly—, tighten with a torque wrench and do it in stages, alternating bolts, so the clamp closes flat and doesn't concentrate pressure on one edge. If something turns at the correct torque, the solution isn't to tighten more: it's to clean the surfaces and use carbon assembly paste, which multiplies friction without adding a single extra newton.
We've dedicated a whole guide to this topic, with the typical mistakes of "it moves, so I tighten it": torque on carbon: how to mount your handlebar without breaking it. Everything said there applies word for word to aerobars.
There's no universal angle: there's the one that leaves your wrist in a neutral position, without bending it up or down while you hold the end of the extension. As an honest starting point for beginners:
The advantage of a well-designed aerobar is that this fine-tuning doesn't require removing anything: you correct it and carry on testing.
In a time trial position, the weight of your upper body rests on your forearms. That's why all CarboXtrem aerobars have 3D lattice rests —the same family of printed structures we use in saddles and grips— instead of a flat rubber pad: they spread pressure over more surface and breathe. Position them so your forearm rests on its wide part, neither digging into the elbow nor rubbing the wrist, and check that you can slide your arm slightly to reposition without losing support.
The time trial position has to be trained, just as threshold does. For the first few days you'll feel it in your neck and lower back and get a certain "twitchy bike" feeling when steering from the centre of the handlebar. It's normal and it passes, but only if you build up gradually:
| Symptom | Usual suspect |
|---|---|
| Numb hands or fingers on the extension | Extension angle that bends the wrist |
| Uncomfortable pressure at one point on the forearm | Rest too far back/forward relative to your arm |
| One side takes more load than the other | Asymmetric cockpit: measure against the stem |
| The aerobar rotates or creaks when you lean on it | Dirty surfaces or insufficient torque: clean, use assembly paste and the manufacturer's torque |
| Neck and lower back sore days later | Too much time in aero too soon |
| Feature | Detail |
|---|---|
| Extensions | Carbon fibre |
| Mounting brackets | PA12-CF (carbon-fibre-reinforced nylon), 3D printed |
| Compatibility | Made to fit the handlebar: practically any road cockpit |
| Use | Time trial and race aero position |
| After-sales | Detailed installation and adjustment guide + personalised support |

Every order of CarboXtrem UCI Crono Aerobars includes a detailed after-sales guide and personalised support: if any step isn't clear, message us and we'll sort it out with you, with your handlebar and your case in front of us. Fitting them properly is quick; fitting them properly with help is quicker still.
In the case of the CarboXtrem UCI Crono, yes in practice: the mounting brackets are 3D printed in PA12-CF to fit the handlebar, so they fit practically any road cockpit.
Allen keys and a torque wrench. On carbon components the tightening torque must always respect the maximum specified by the handlebar manufacturer, tightening in stages and alternating bolts.
It depends on the rider. The safe approach is progressive: short blocks in the aero position during the first rides, lengthening them little by little as your neck, lower back and forearms get used to it, and changing only one adjustment parameter at a time.
Yes. They're components mounted on the handlebar with clamps, so they can be removed and refitted; just repeat the same care each time you fit them: clean surfaces, symmetry and correct torque.
Topics